
Post-KCWC but I'm still on the kid stuff for one more post!
Aprons have been multiplying around here. Having made one for school (sadly unblogged) and one for T, I now had to make one for L for at home.
Aprons have been multiplying around here. Having made one for school (sadly unblogged) and one for T, I now had to make one for L for at home.
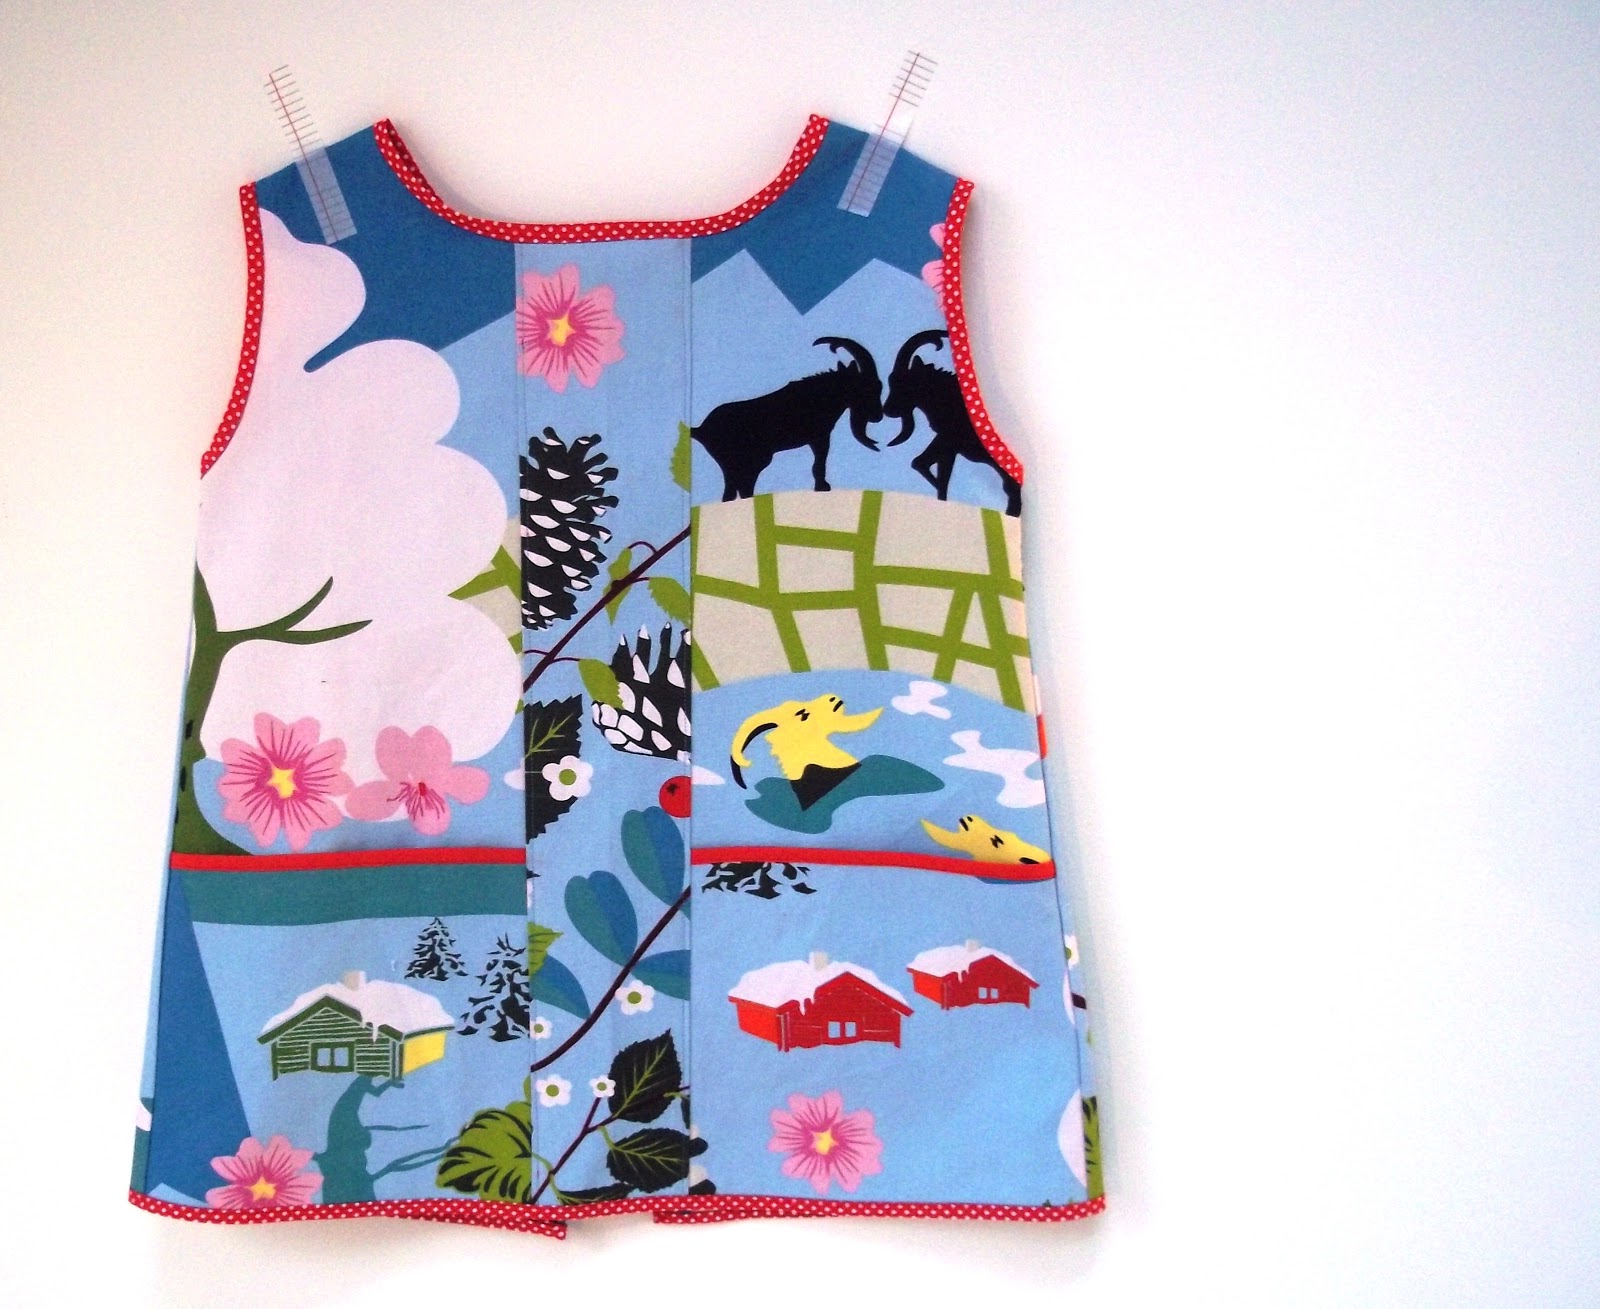
Of course it has pockets (and this particular design is also a good way of remedying things when you accidentally cut your apron front too small).

And I finally have approached velcro-closure apron perfection!

Now, I attempted to photograph the velcro-tab closure process so as to write up a nice clear tutorial. But of course this is an art in itself, and one at which I am not yet good :-).
However, the sewing itself is not difficult, so here's my brief explanation, with illustrations rather than pictures of what I actually did, which was inexplicably messy.

This is a hack of this excellent art smock tutorial. I'm just going to show you how to adapt the back pieces to shut with velcro instead of ties, as in my view this is easier for little kids and busy teachers. For the rest of the construction you'll need to refer to the far superior original!
First, cut a piece of velcro about 10-12 cm long. Much shorter than this and it won't hold the apron shut securely.

Now make your pattern piece as instructed, but don't curve the back bottom corners. We're going to make two different back pieces.
1) The right hand side.
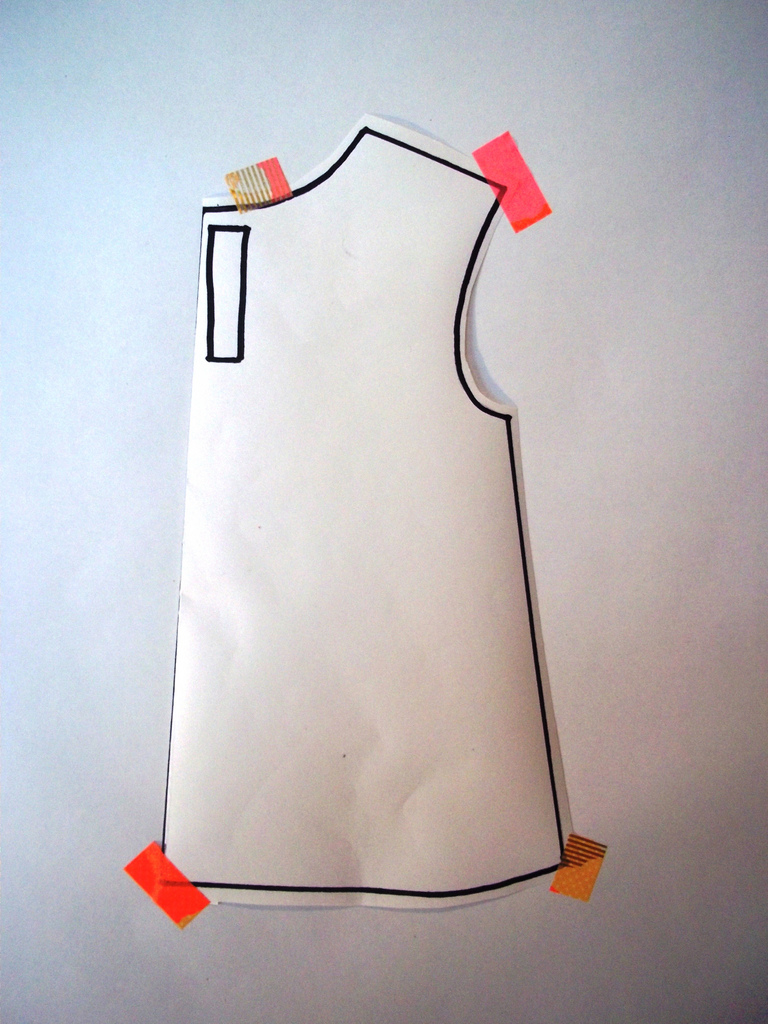
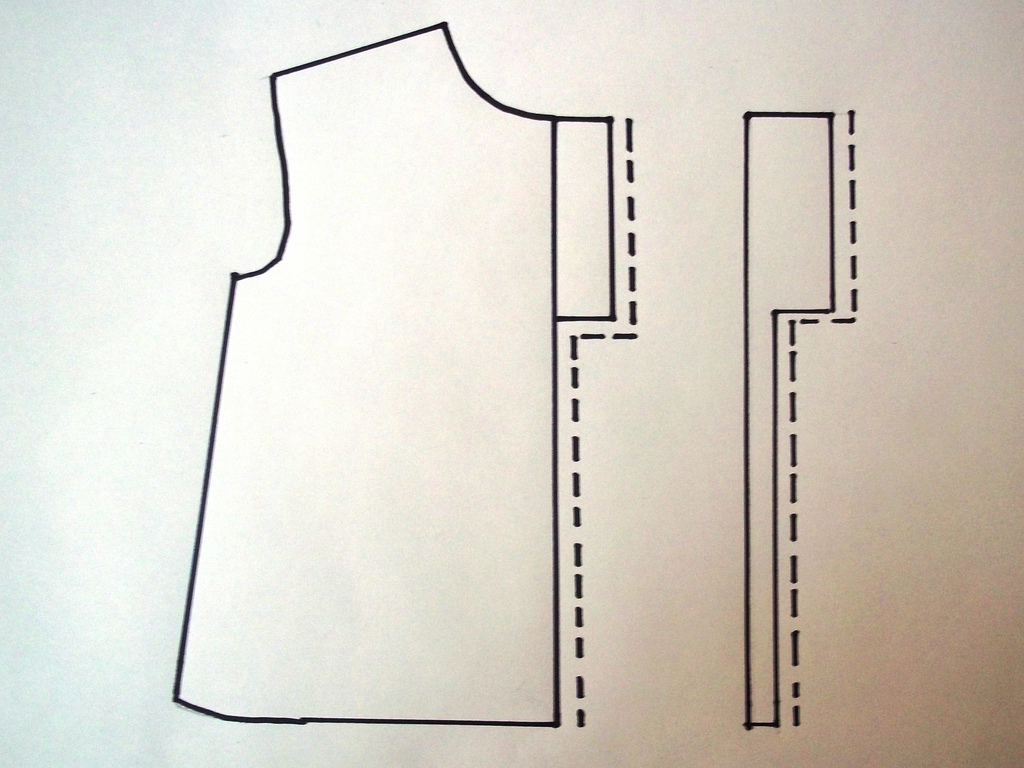
Take your basic pattern piece:
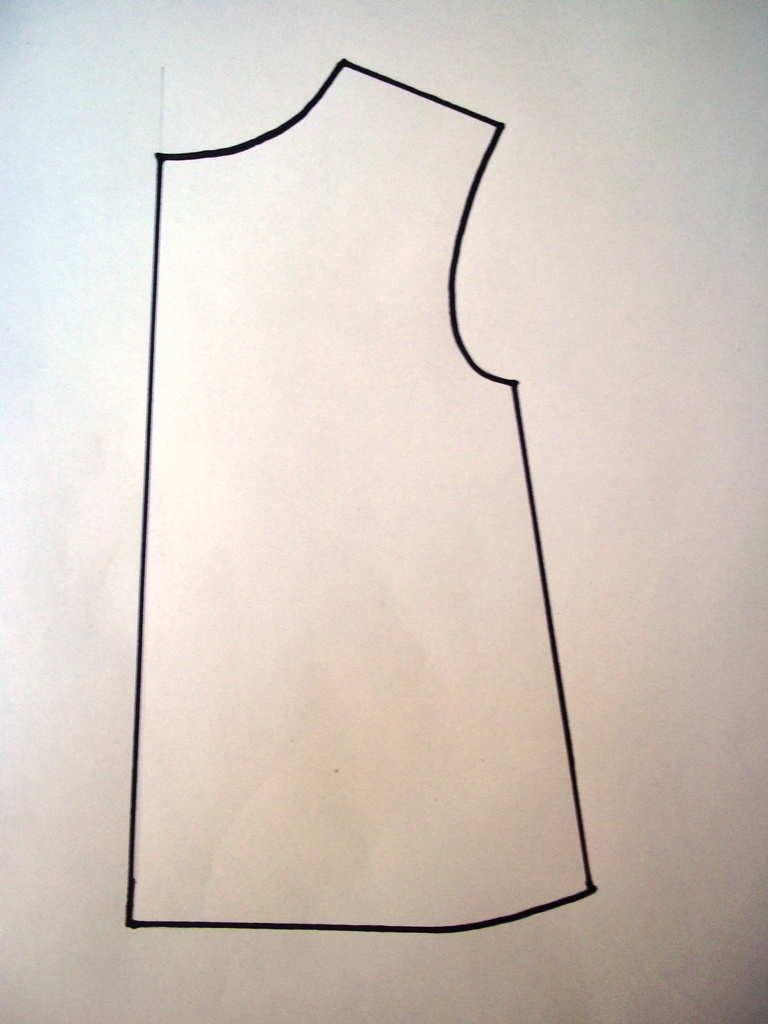
and make it wider along the centre back by the width of your velcro:

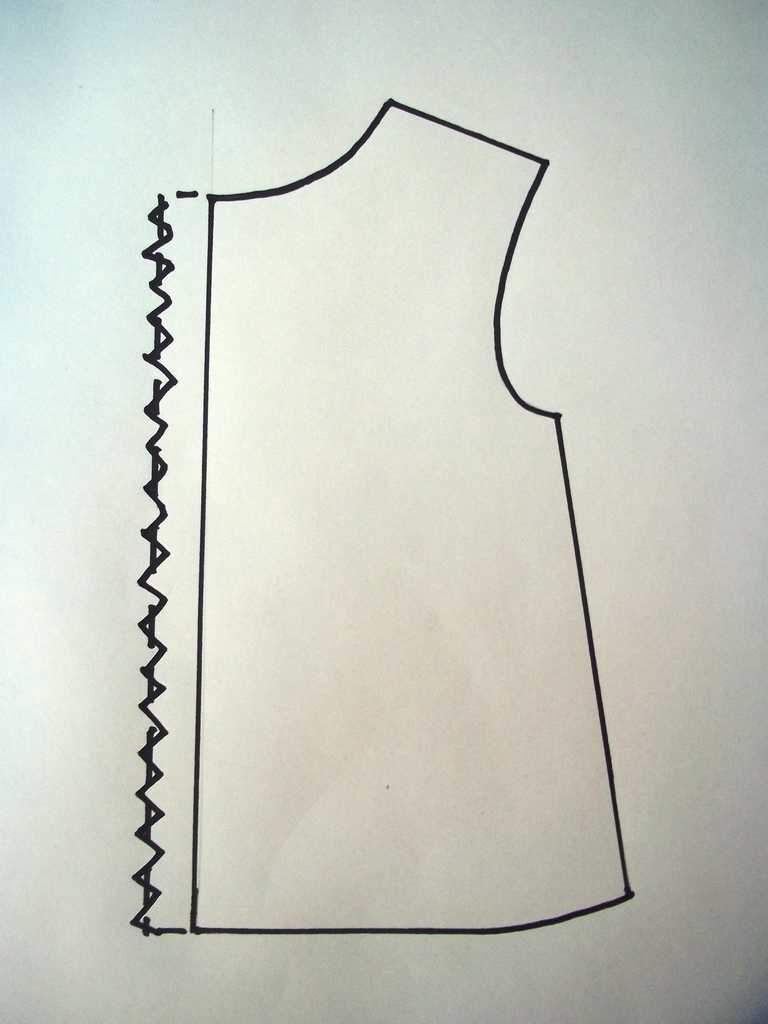
2) The left hand side
Take your basic pattern piece and draw the tab for your velcro on it at the centre back. The tab should be the same width or slightly wider than your velcro, and the length of the velcro plus about 3 cm.


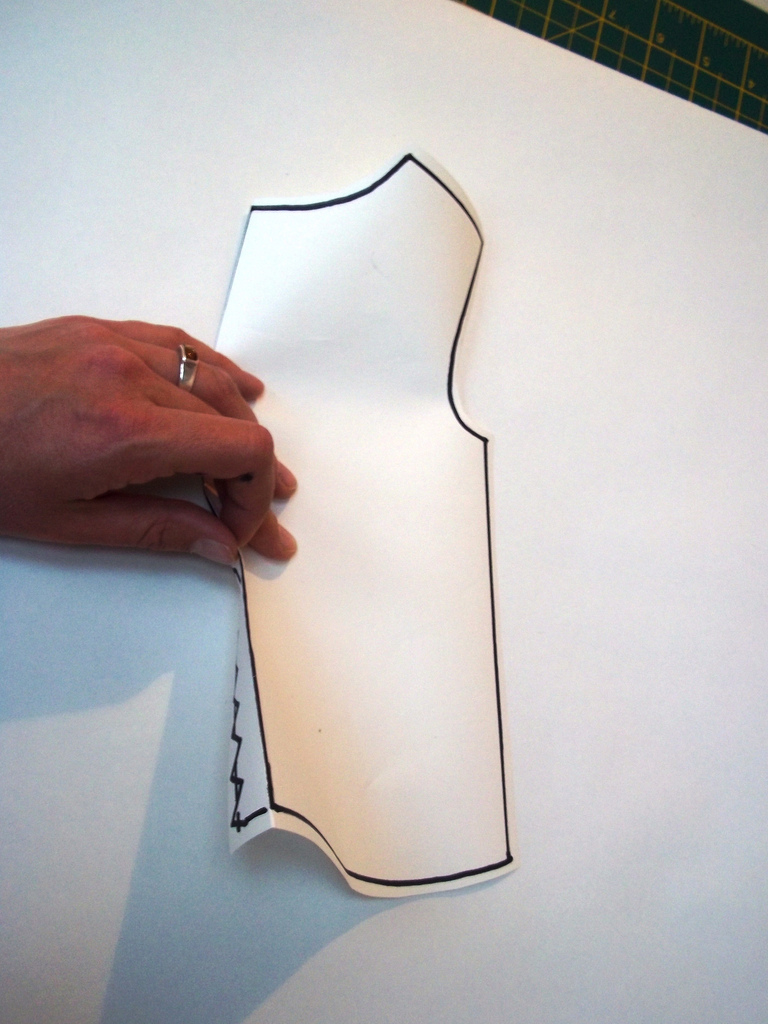
Cut one back piece of this shape, and one narrow back facing. Watch out here - you need to flip over your fabric (or the pattern piece) before cutting the facing out!
Zigzag/overlock the long straight side of the facing. Then, right sides together, sew the pieces together around the tab and down the back.

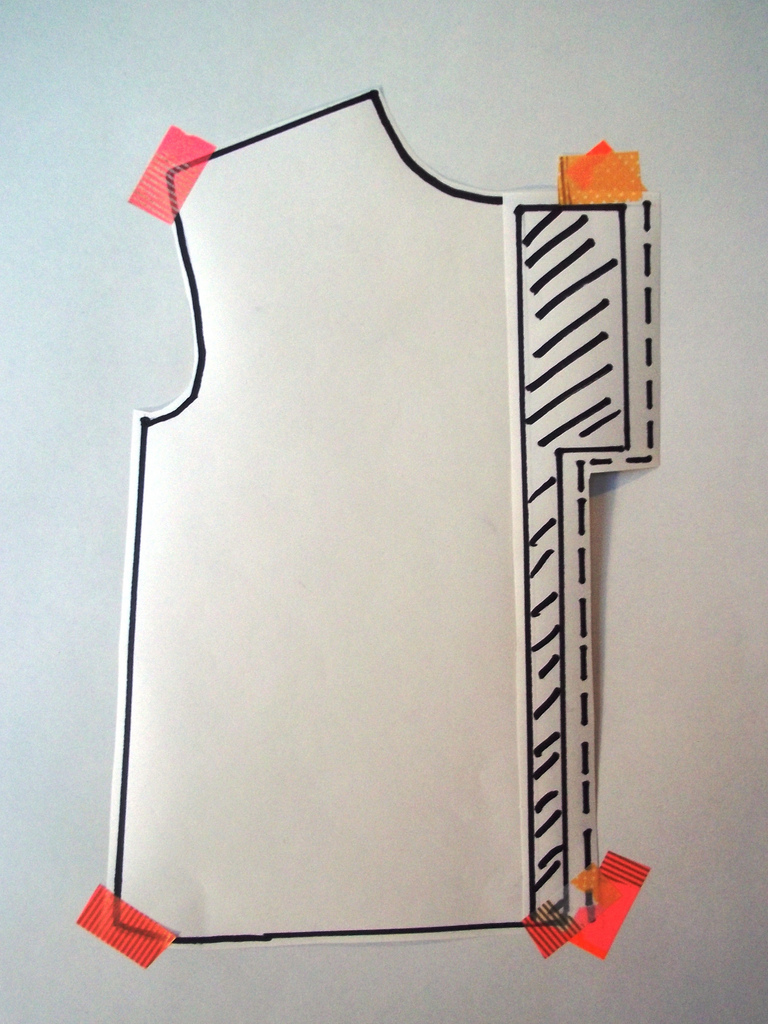
Clip corners and turn the facing to the wrong side, poking out the corners of the tab so it's nice and rectangular. Iron/press in place.
Sew the SCRATCHY side of the velcro to the WRONG side of the tab.
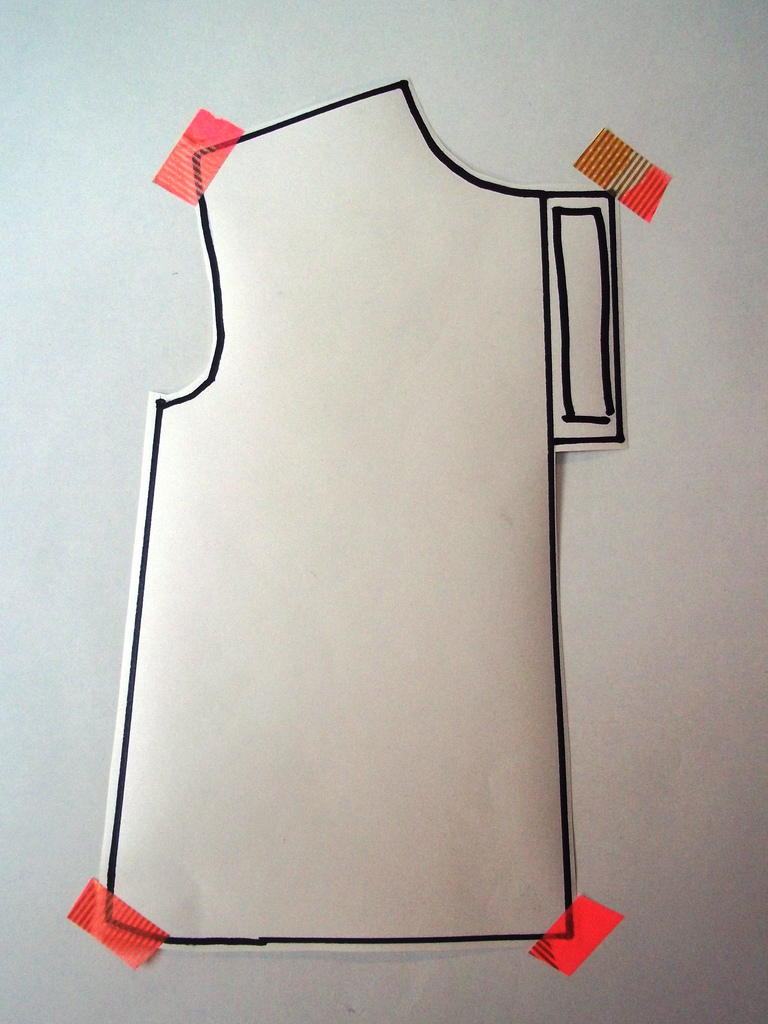 |
| Um, this picture is the wrong way round. The velcro should be in this position on the inside/wrong side of the apron! |
And voilà, two adapted back pieces! They're slightly more bulky than the original version - I chose to do it like this as it's not only a tidy finish but gives a bit more strength to the areas where the velcro will pull apart.
Now you can just follow the construction method in the original tutorial. When finishing the hem and neckline with bias tape, simply fold over the ends to enclose the raw egdes.
Hope someone out there finds it useful!
Great tutorial - really well done. I love the drawings.
ReplyDelete